Table of Contents
How To Do Manicure At Home | Step by Step Guide
I’ve never done any salon-fresh manicure because I’m scared of ruining my nails. Yeah, I know I am a beauty blogger, and yet I have this weird fear of doing manicures at a salon because once when I was little, my mother asked my father to trim my nails but he went a little far and it was too painful. So, I never trust anyone to do my nails and I do them at home. Here’s How I do Manicure At Home – A Step by Step Guide.
Products Needed:
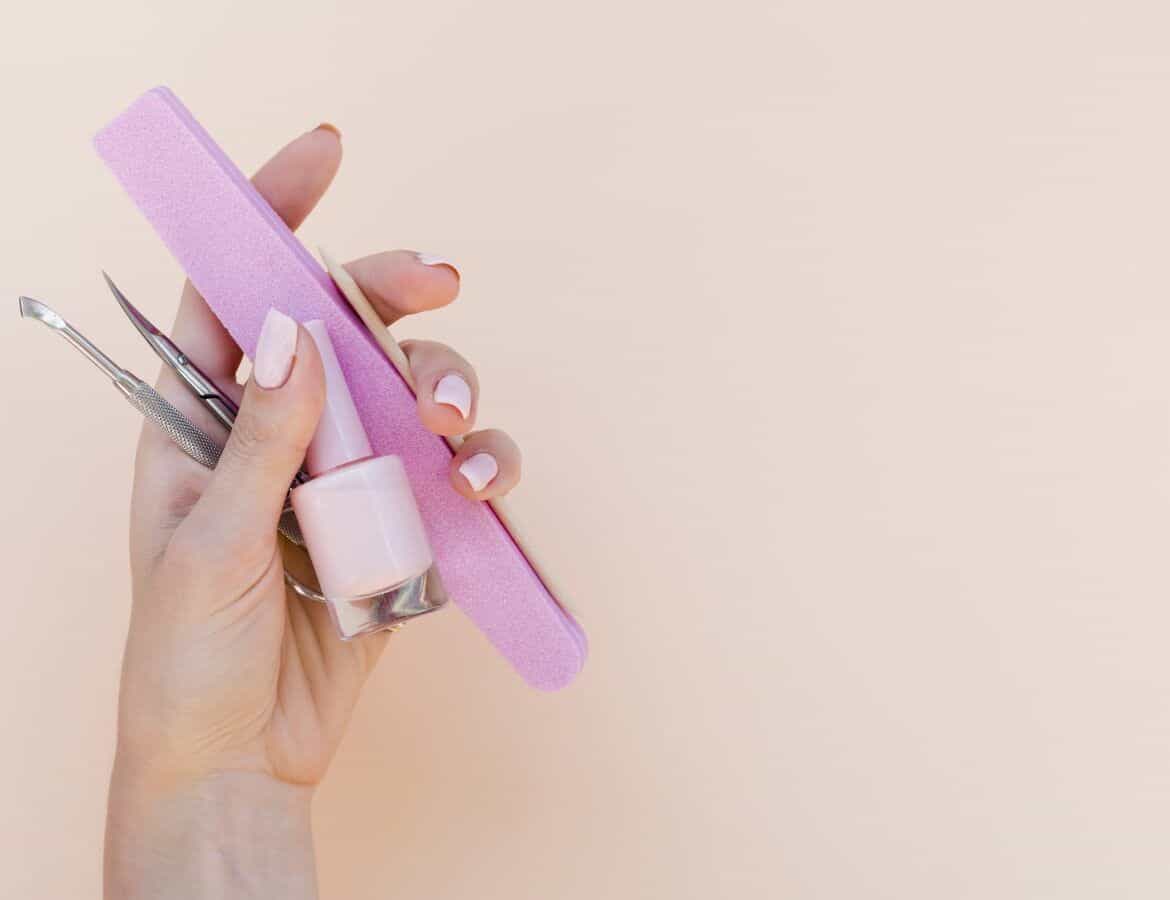
Before starting off with your DIY Manicure, you need to have the following products.
- Nail Polish Remover
- Manicure Set
- Exfoliator
- Hand Cream or Moisturizer
- Base Coat
- Nail Paint of Choice
- Top Coat
Steps For Manicure At Home
Step 1: Remove Any Nail Polish And Clean Your Nails
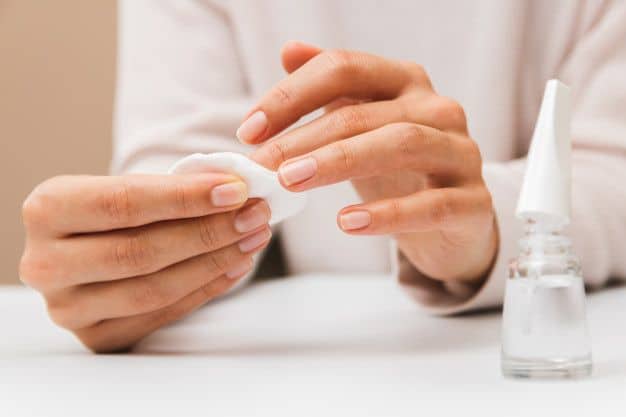
The first step for a manicure is to remove any Nail Polish and start prepping and polishing your nails. Use a Nail Polish Remover that can remove any trace of a Nail Polish. Personally I use the affordable Lakme Nail Polish Remover but you can use any.
This Nail Polish remover effectively removes any nail polish, even the ones with glitter. Just pour some Nail Polish in a cotton ball, apply it onto your nails and use a rubber band to secure it in place, after a while all the glitter will be removed.
Recommendations:
- Sally Hansen Salon Formula Fast Acting Nail Polish Remover
- Innisfree Nail Remover
- Colorbar Nail Polish Remover
Step 2: File & Buff Your Nails
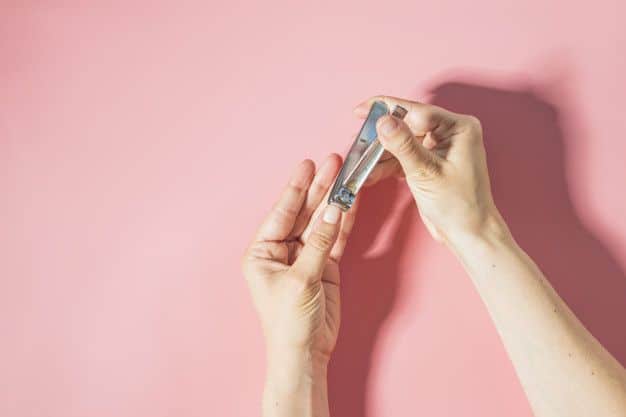
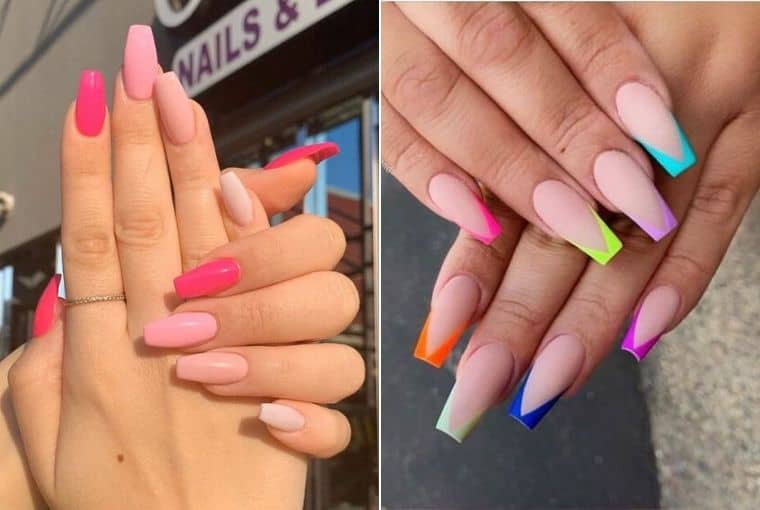
First of all chip your nails if necessary, then gently file them into your desired shape- round, square, ballerina, etc whatever your heart desire. Then buff your nails from the corners and top. That should be it.
Recommendation: Beauté Secrets 7 in 1 Manicure Set
Step 3: Soak Your Nails And Hands

Take a clean bowl. Large enough for your hands. Add warm water and a gentle cleanser or shampoo. Then soak your hands in it for almost 3 minutes.
Soaking your hands in warm water will help in softening your cuticles and helps in removing any dirt or dead skin. Then gently brush around your nails with a nail brush.
Step 4: Push Back Your Cuticles
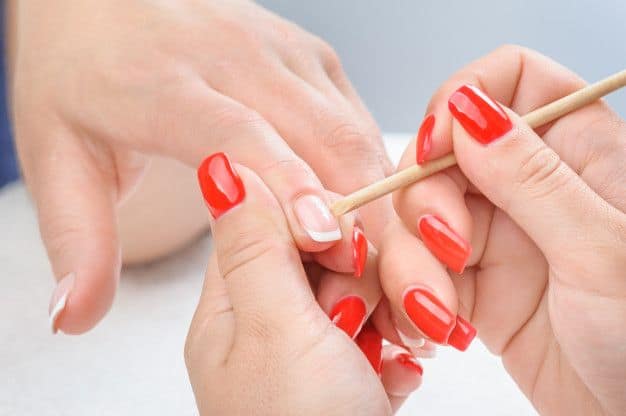
Wipe your nails then prep them by applying a cuticle cream. The cuticle cream makes your cuticles softer and easier to work on. Then gently push back your cuticles using a cuticle stick.
Step 5: Exfoliate/Scrub your hands
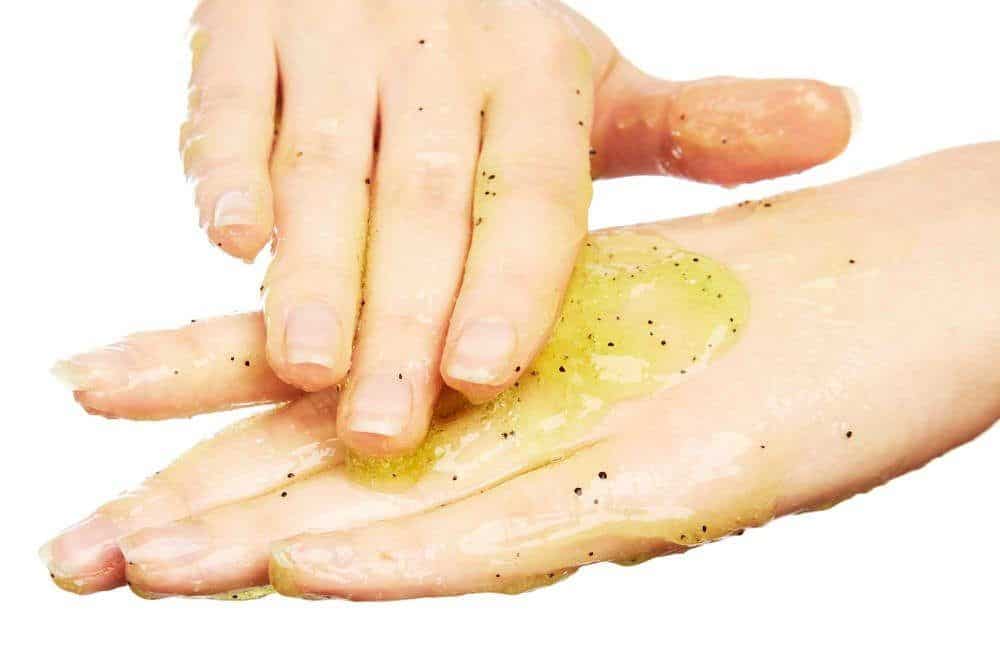
Use any tan removal scrub to exfoliate your hands. Exfoliating your hands will make sure to remove any dead skin on the surface. It will make your hands soft to touch. I’d recommend Biotique Bio Papaya Scrub or Luxurious Adore Arabica Coffee Body Polish
Step 6: Moisturize Your Hands & Cuticles
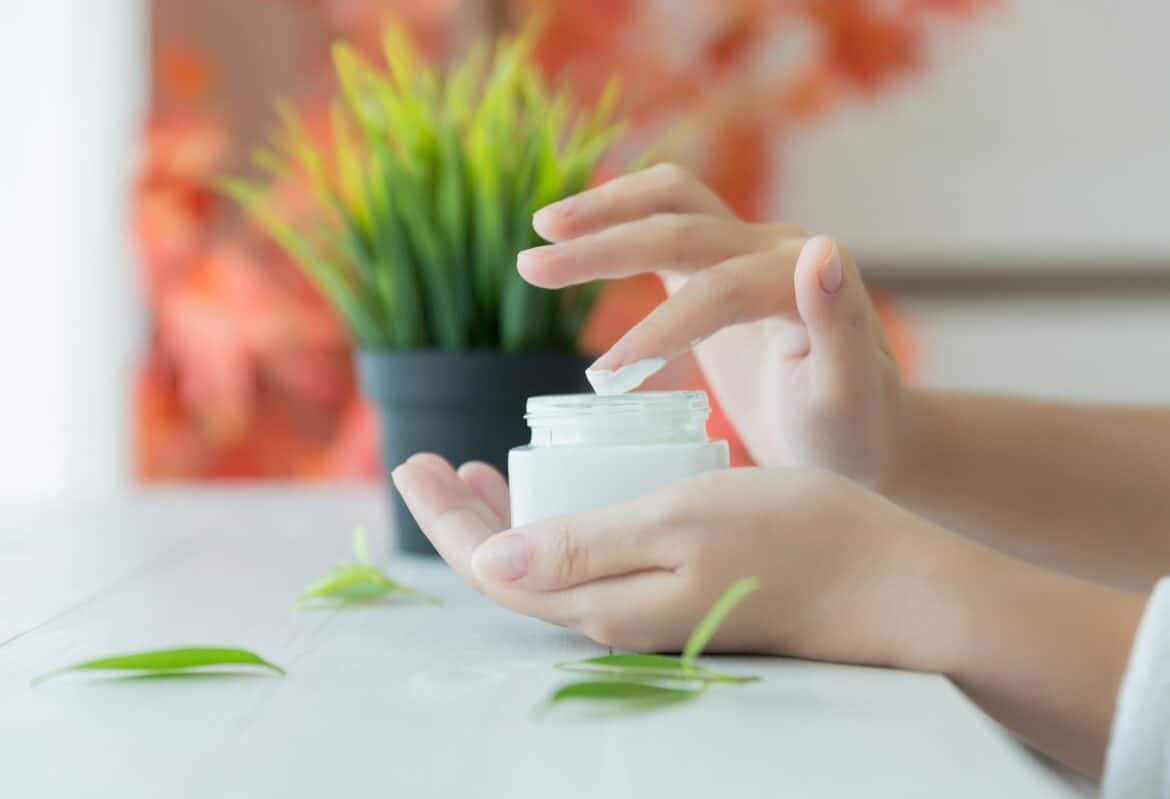
Apply any hand cream. If you don’t have hand cream, then use a thick moisturizer that will help in restoring any moisture that was lost during all these steps. Make sure to focus mainly on your nails and around the nail area
Recommendation: Dot & Key Hand Cream
Step 7: Apply A Base Coat
Before applying a base coat, make sure to remove any extra moisturizer from your nails. Then apply a thin transparent base coat to your nails. Then let it dry.
You may also apply a white base coat because it makes your nail paint pop. A base coat is applied because it can help in making your nail paint last longer.
Recommendation: Chambor Gel Effect Base and Top Coat
Step 8: Apply A Top Coat or A Nail Polish of Your Desire
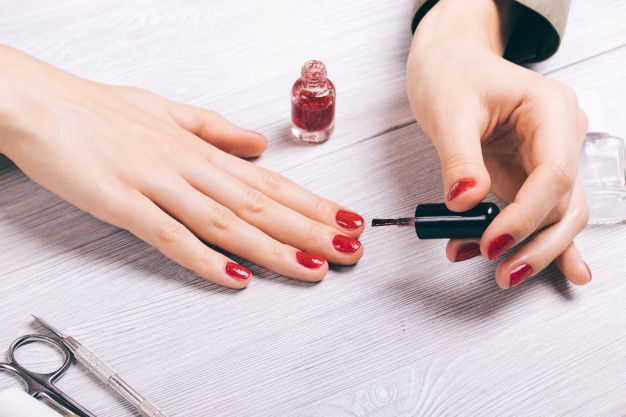
Apply a coat of your favorite Nail Polish. Be creative and add any dots, sparkle or stripes. You may also add another layer of Nail Polish if you feel like the coverage is not enough.
Then let it dry completely.
Recommendation: Sally Hansen Miracle Gel
Step 9: Finish It Off With A Clear Top Coat
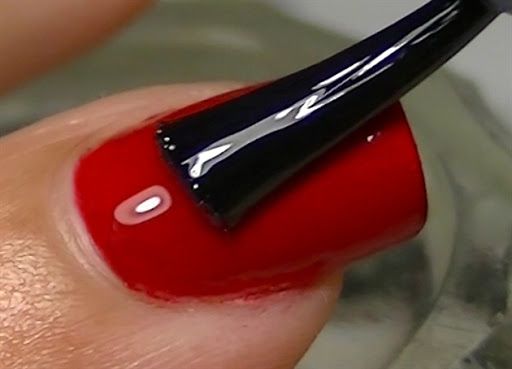
Lastly, finish it off with a clear top coat. A top coat helps in protecting your nail paint from chipping or flaking. It even protects any nail art that you have done.
Viola! and you are done with your easy DIY Manicure at home.
Don’t Forget To Pin This
Also Read:
Best and Worst of Nykaa Cosmetics | Cruelty Free
Introducing 786 Cosmetics Halal Nail Polish | Vegan & Cruelty-Free


